Tech & Wi-Fi
How to Connect to Ferry WiFi for Seamless Internet Access
Learn how to connect to ferry wifi step-by-step, from setup to successful browsing. Ensure reliable onboard internet for work, streaming, and communication.
25 January 2026
How to Connect to Ferry WiFi for Seamless Internet Access
Missing a critical email or video call while crossing the Mediterranean can ruin your plans for work or relaxation. Staying connected aboard Corsica Ferries or Grimaldi Lines starts with preparing your device for smooth, high-speed WiFi access. With a few quick adjustments, you can enjoy reliable ferry WiFi without last-minute headaches or extra charges, making your journey efficient and stress-free.
Table of Contents
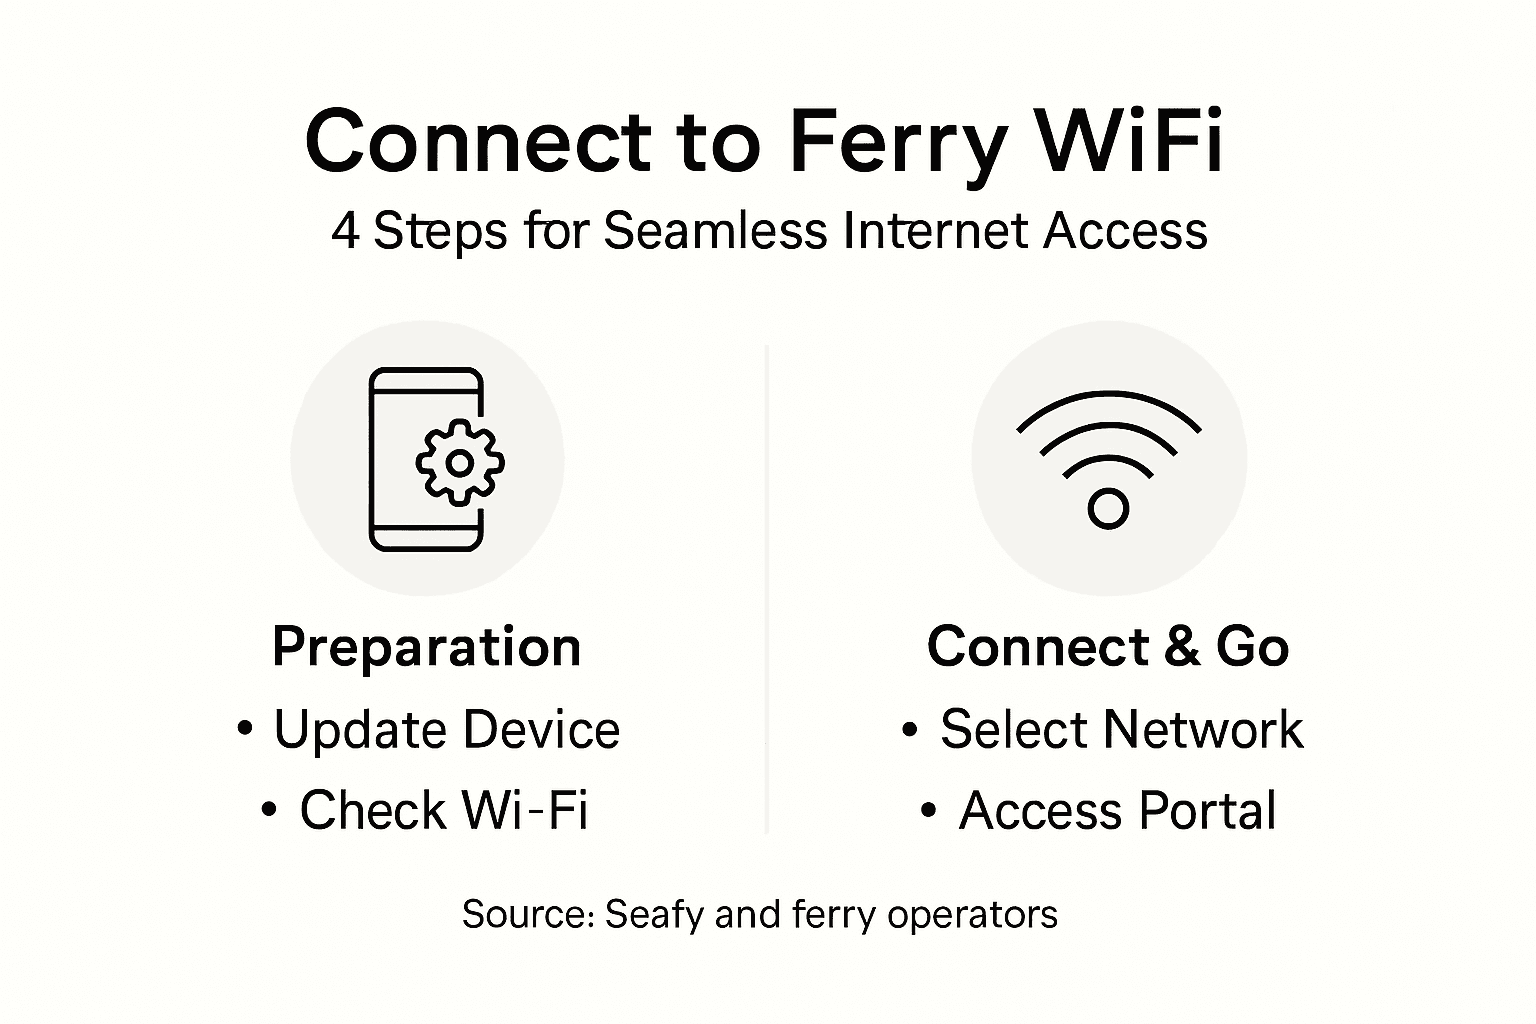
- Step 1: Prepare Your Device For Onboard WiFi
- Step 2: Select The Ferry WiFi Network
- Step 3: Access The Seafy WiFi Portal
- Step 4: Choose And Purchase Your WiFi Package
- Step 5: Verify Your Internet Connection
Quick Summary
| Main Insight | Practical Explanation |
|---|---|
| 1. Ensure Device is Updated | Check for and install the latest operating system updates for optimal WiFi compatibility. |
| 2. Disable Mobile Data & Roaming | Turn off mobile data and roaming to prevent unexpected charges and connection interference. |
| 3. Select Appropriate WiFi Package | Evaluate your internet needs to choose the best WiFi package for your journey duration. |
| 4. Verify Internet Connection | Test your connection speed by visiting a website to ensure proper functionality after connection. |
| 5. Ask for Assistance if Needed | If problems arise, reach out to ferry staff at reception for troubleshooting and support. |
Step 1: Prepare your device for onboard WiFi
Getting your device ready for ferry WiFi takes just a few minutes and makes all the difference when you board. Think of this as a quick pre-flight checklist that ensures your phone, tablet, or laptop will connect instantly to the onboard network without frustration or delays. The good news is that most modern devices are already compatible, but a bit of preparation goes a long way.
Start by checking that your device is running a recent operating system. Whether you’re using an iPhone, Android phone, iPad, Windows laptop, or MacBook, ferry WiFi networks work best with current software versions. If you haven’t updated your device in a while, now is the time to do it. Head to your device’s settings and install any available updates before you travel. Next, take a moment to review your wireless settings. Disable roaming on your smartphone or tablet if you have it enabled, as this can cause your device to search for mobile networks while onboard and potentially incur unexpected charges. Turn off mobile data as well if you plan to rely solely on WiFi during your journey. This simple step prevents your device from automatically switching between connections and draining your battery faster than usual.
Another quick adjustment involves checking your WiFi settings to make sure they’re optimized for discovery. Your device should be set to automatically detect available networks, which helps you spot the ferry’s WiFi network the moment you board. Some travelers also find it helpful to “forget” previously saved WiFi networks from past trips to avoid connection confusion. According to guidance from ferry onboard services, proper preparation ensures your device will recognize the network instantly for hassle-free access once you’re aboard.
Pro tip Download any content you might need offline before boarding, such as movies, podcasts, or documents, so you’re not dependent on WiFi from the moment you step on deck.
Here’s a quick summary of device settings to check before boarding:
| Device Setting | Why It Matters | Recommended Action |
|---|---|---|
| Operating System | Ensures maximum WiFi compatibility | Update to the latest version |
| Roaming | Prevents unwanted charges | Disable before departure |
| Mobile Data | Avoids battery drain and conflicts | Turn off during crossing |
| WiFi Discovery | Aids fast network detection | Enable automatic discovery |
| Saved Networks | Prevents connection confusion | Forget outdated connections |
Step 2: Select the ferry WiFi network
Now that your device is ready, it’s time to find and connect to the ferry’s WiFi network. This is the moment where everything comes together, and you’re just minutes away from accessing the internet while at sea. The process is straightforward and takes less than a minute once you know what to look for.
Start by turning on your device’s WiFi function. Open your WiFi settings and wait for the available networks to appear on your screen. You’ll see a list of networks, and among them will be the ferry’s WiFi network. Look for a network name that matches your ferry operator, such as DFDS-guest or a similar identifier specific to your vessel. The network name acts like a sign saying “this is the connection you want.” Once you spot it, tap or click on it to select it. Your device will attempt to connect, and within a few seconds, you should see a confirmation that you’re connected to the network. At this point, you’ve successfully joined the ferry’s WiFi, though you may still need to complete authentication through a portal before you can access the broader internet.

One important thing to remember is that roaming and mobile data should remain disabled to avoid unexpected charges or interference with your WiFi connection. Some devices default to searching for mobile networks automatically, and keeping these features off ensures your phone stays focused on the WiFi connection you’ve just established. If you’re moving around the ferry, know that the network is typically accessible throughout the vessel, including common areas, dining spaces, and cabins, so you can stay connected wherever you go on board.
Pro tip If you don’t immediately see the ferry’s WiFi network in your available networks list, try refreshing your WiFi settings or moving to a different location on the ferry, as signal strength can vary between areas.
Step 3: Access the Seafy WiFi portal
You’re almost there. Once your device connects to the ferry’s WiFi network, a login portal should appear automatically on your screen. This portal is your gateway to selecting a WiFi package and activating your internet access. If the portal doesn’t pop up on its own, simply open any web browser and try visiting a website, which should redirect you to the login page.
When the portal appears, take a moment to review the available WiFi packages and their pricing. Different packages suit different needs, whether you’re a casual browser checking emails or a remote worker who needs consistent, high-speed connectivity throughout your journey. The portal interface is designed to be user-friendly, guiding you through each step. Select the package that fits your needs, then proceed to payment. Most ferries accept card payments directly through the portal, making the transaction quick and secure. If you prefer not to use a card or encounter any issues, you can also visit the ferry reception desk to complete your purchase and activate your access there. Follow the on-screen instructions carefully to ensure your WiFi package selection and activation completes successfully.
After you’ve finished the payment process, your device should gain full internet access within moments. You’ll see confirmation on the portal that your session is active. From that point forward, your connection should remain stable as you move around the ferry, provided you stay within the network coverage area. If you experience any difficulties navigating the portal or completing your payment, the crew members at ferry reception are trained to assist you and can walk you through the process or handle the activation on your behalf.
Pro tip Save the ferry’s WiFi network login page URL or take a screenshot of the portal for reference in case you need to reconnect or troubleshoot later during your journey.
Step 4: Choose and purchase your WiFi package
This is where you match your connectivity needs to the right plan. Different ferry routes and operators offer varying WiFi packages, each designed for different travel scenarios and budgets. Taking a moment to evaluate your needs now ensures you get the best value and performance for your journey.
Consider how you’ll use the internet during your ferry crossing. Are you planning to stream movies and entertainment, or do you primarily need WiFi for messaging and light browsing? Remote workers and professionals require higher bandwidth for video calls and file uploads, while casual travelers might only need occasional connectivity. Most ferry operators, including those on major Mediterranean routes, offer tiered packages ranging from hourly passes to full passage coverage. An hourly pass works well if you only need brief connectivity for email and messaging, while a full passage package is ideal if you plan to work or stream throughout your journey. Consider the duration of your ferry trip when making this decision, as purchasing a multi-hour package for a short crossing wastes money, while an hourly pass for an overnight sailing leaves you without coverage when you need it most.
Once you’ve decided on your package, proceed to checkout and payment. The portal accepts most major credit and debit cards for quick, secure transactions. Review your selection one more time before confirming payment to avoid any mistakes. After your payment processes successfully, your WiFi access activates immediately, and you can start using the internet right away. Keep your confirmation receipt or booking reference number handy in case you need to troubleshoot or extend your package later during your voyage.
Pro tip If you’re traveling with family or colleagues, consider whether a full passage package shared across multiple devices offers better value than purchasing individual hourly passes for each person.
Compare the main WiFi package types available onboard:
| Package Type | Ideal For | Coverage Duration | Typical Purchase Method |
|---|---|---|---|
| Hourly Pass | Short trips, basic use | 1 to 3 hours | Select via portal, pay online |
| Full Passage | Long journeys, streaming | Entire ferry crossing | Portal or reception desk |
| Multi-Device | Families, group travelers | Varies by ferry operator | Shared online purchase |
Step 5: Verify your internet connection
You’ve successfully connected and paid for your ferry WiFi. Now comes the moment of truth, checking that everything is working as expected. A quick verification ensures you can confidently use the internet for the rest of your journey without surprises.
Start by opening your web browser and visiting a familiar website like Google or your email provider. If the page loads normally within a few seconds, you’re already good to go. Pay attention to how quickly the page appears and whether images load smoothly. This gives you a sense of your connection speed. If you want more detailed information about your connection quality, check your device’s WiFi settings to see the signal strength indicator. A strong signal appears as multiple bars or a percentage reading near 75 percent or higher. If your signal seems weak, try moving to a different location on the ferry, such as a common area or closer to the upper decks, where signal strength often improves. Beyond basic browsing, you can run online speed tests if you want to measure your actual download and upload speeds, giving you concrete numbers to work with.
Keep in mind that ferry WiFi relies on satellite connectivity shared among all passengers on board, so your speed may fluctuate depending on how many people are using the network and what they’re doing. Heavy streaming or large file downloads from other passengers can temporarily affect your speed. If you experience significant issues or the connection drops entirely, head to the ferry reception desk where staff can troubleshoot with you or verify that your package is properly activated. Don’t hesitate to ask for help, as connection problems are usually quick to resolve.
Pro tip Use your WiFi connection wisely during peak hours by downloading large files or streaming during quieter times, typically early morning or late evening when fewer passengers are online.
Experience Seamless Ferry WiFi Connectivity with Seafy
Connecting to ferry WiFi can be frustrating without the right setup and reliable service. This article guides you through preparing your device and selecting the best WiFi package but knowing where to find trustworthy and high-speed onboard internet access is just as important. Common challenges like unstable connections, confusing login portals, and limited coverage can disrupt your plans whether streaming entertainment or staying productive.
Seafy solves these problems by partnering with major ferry lines such as Corsica Ferries and Grimaldi Lines to provide fast, stable, and easy-to-use WiFi solutions. Our platform integrates cutting-edge satellite technology ensuring you stay online seamlessly during your entire crossing. From effortless login portals to flexible WiFi packages tailored to your needs, Seafy transforms the onboard internet experience for travelers and crew alike. Discover how you can enjoy uninterrupted connectivity, stress-free setup, and clear support options through Seafy.
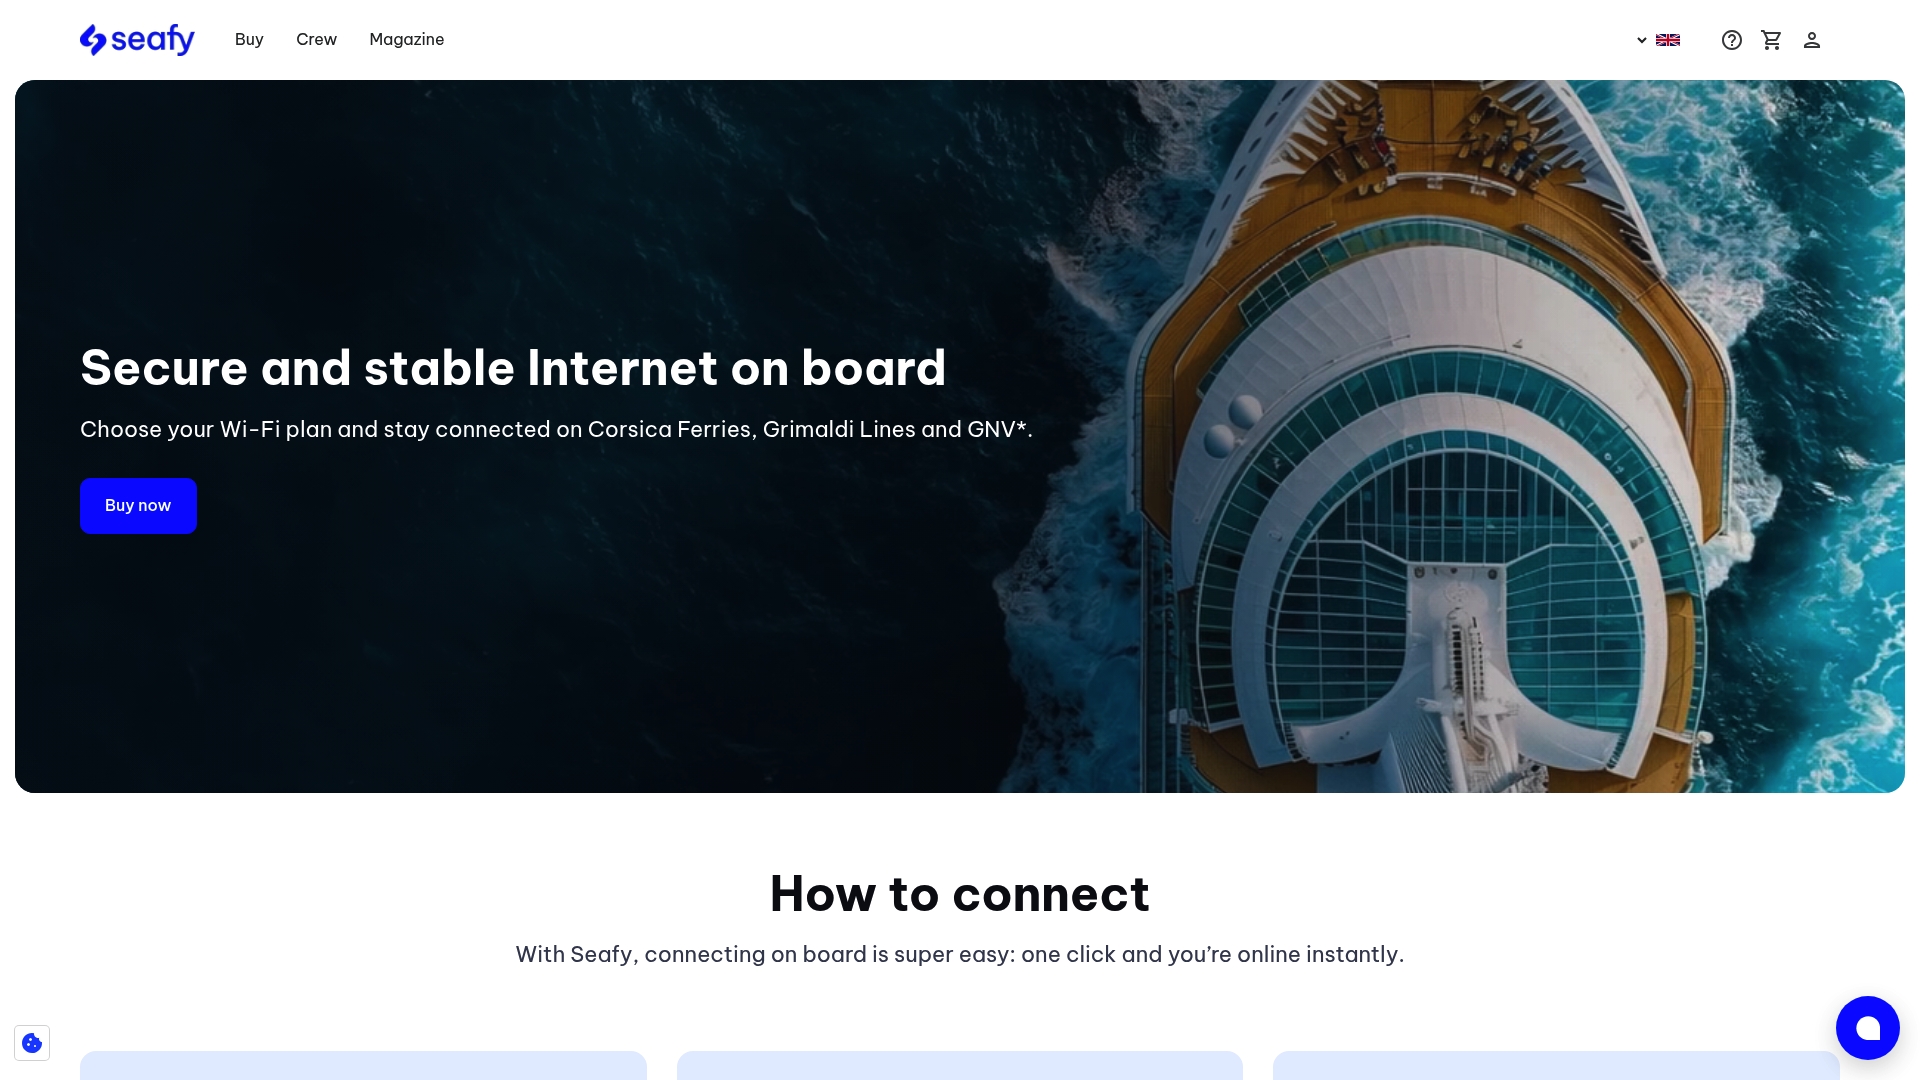
Ready to eliminate ferry WiFi headaches and truly stay connected at sea Visit our website now to explore packages and coverage details and get started with your next voyage at Seafy. Learn more about onboard internet and how easy it is to stay connected throughout your trip by visiting Seafy onboard solutions. Don’t let poor connectivity hold you back when you can enjoy reliable WiFi made for maritime travel.
Frequently Asked Questions
How do I prepare my device for ferry WiFi?
To prepare your device for ferry WiFi, update your operating system to the latest version and check your wireless settings. Disable roaming and mobile data to prevent unwanted charges and battery drain.
What should I do if I can’t find the ferry’s WiFi network?
If you don’t see the ferry’s WiFi network immediately, refresh your WiFi settings or move to a different location on the ferry. The signal strength can vary, so try finding a common area or upper deck for better connectivity.
How do I access the ferry’s WiFi portal?
To access the ferry’s WiFi portal, connect to the ferry’s network, and a login page should appear automatically. If it doesn’t, open a web browser and visit any website to trigger the portal manually.
How can I choose the right WiFi package for my needs?
Evaluate how you’ll use the internet during your journey to choose the right WiFi package. For example, select an hourly pass for light browsing or a full passage package for streaming or essential work.
How can I verify that my internet connection is working?
To verify your internet connection, open a web browser and visit a familiar website like Google. Ensure the page loads quickly and check the signal strength indicator for a strong connection.
What should I do if I experience connection issues onboard?
If you have connection issues, move to a different location on the ferry for better signal. If the problem persists, visit the ferry reception desk for assistance with troubleshooting your connection.